Disclosure: Some of the links in this post are affiliate links, which means that if you go through them to make a purchase I can earn a commission. But I only link to products that I recommend based on my experience with them, not because of the commission. :)
Hey there fine friends! This is a little late...it is really last week's project. But better late than never, right?
So to get ready for Valentine's Day, what better than a little hand knit gift, perfect for your bestie or great as a hostess gift!


Row 19 (RS): Kn1,p1 (seed stitch) 6 times (12 stitches). Keeping MC at back (WS), switch to CC, kn15. Keep tail at WS, return to MC, P1. Continue kn1p1 to end.
Row 20 (WS - NOTE: No increases in CC): Kn1,p1 (seed stitch) 6 times (12 stitches). Kn1. Keeping MC at back (WS), switch to CC, p13. Keep tail at WS, return to MC. Continue kn1p1 to end.
Row 21 (RS): Kn1,p1 (seed stitch) 6 times (12 stitches). Keeping MC at back (WS), switch to CC, kn15. Keep tail at WS, return to MC, P1. Continue kn1p1 to end.
Row 22 (WS): Kn1,p1 (seed stitch) 6 times (12 stitches). Kn1. Keeping MC at back (WS), switch to CC, p15. Keep tail at WS, return to MC. Continue kn1p1 to end.
Row 23 (RS): Kn1,p1 (seed stitch) 6 times (12 stitches). Keeping MC at back (WS), switch to CC, kn15. Keep tail at WS, return to MC, P1. Continue kn1p1 to end.
Row 24 (WS): Kn1,p1 (seed stitch) 6 times (12 stitches). Kn1. Keeping MC at back (WS), switch to CC, p15. Keep tail at WS, return to MC. Continue kn1p1 to end.
Row 25 (RS - NOTE - Decreasing of CC begins): Kn1,p1 (seed stitch) 6 times (12 stitches). Kn1. Keeping MC at back (WS), switch to CC, kn6. Keep tail at WS, return to MC and p1. With CC, kn6. With MC, continue kn1p1 to end.
Row 26 (WS): Kn1,p1 (seed stitch) 7 times (14 stitches). Keeping MC at back (WS), switch to CC, p5. Keep tail at WS, return to MC and p1,kn1p1. With CC, p5. With MC, P1. Continue kn1p1 to end.
Row 27 (RS): Kn1,p1 (seed stitch) 7 times (14 stitches). Keeping MC at back (WS), switch to CC, kn3. Keep tail at WS, return to MC and p1,kn1,p1,kn1,p1(total of 5 stitches in MC). Then, with CC, kn3. Back to MC, P1. Continue kn1p1 to end.
Row 28 (WS): Kn1,p1 (seed stitch) 8 times (16 stitches). Keeping MC at back (WS), switch to CC, p1. Keep tail at WS, return to MC and p1. Kn1p1 pattern 3times (total of 7 stitches in MC). With CC, p1. With MC, P1. Continue kn1p1 to end. Clip CC and secure ends.
Rows 29-32: Kn1,p1 across.
Row 33: With CC, kn across.
Row 34: With CC, purl across.
Rows 36-39: Kn1,p1 across.
Row 40: In kn1,p1 pattern, bind off.


Now you are done knitting! Whew! Now to finish....
Take your finished square and lay it on your felt. Cut out felt to match size of knitted fabric.

Now take your fabric, and cut about half an inch larger than the wool and knitted fabric size.
Take your handy iron, and press under about 1/2in of the fabric on each side.
Sandwich your felt in between your knitted fabric and regular fabric (making sure right sides are facing out.) Hand stitch the sandwich closed with a whip or invisible stitch.

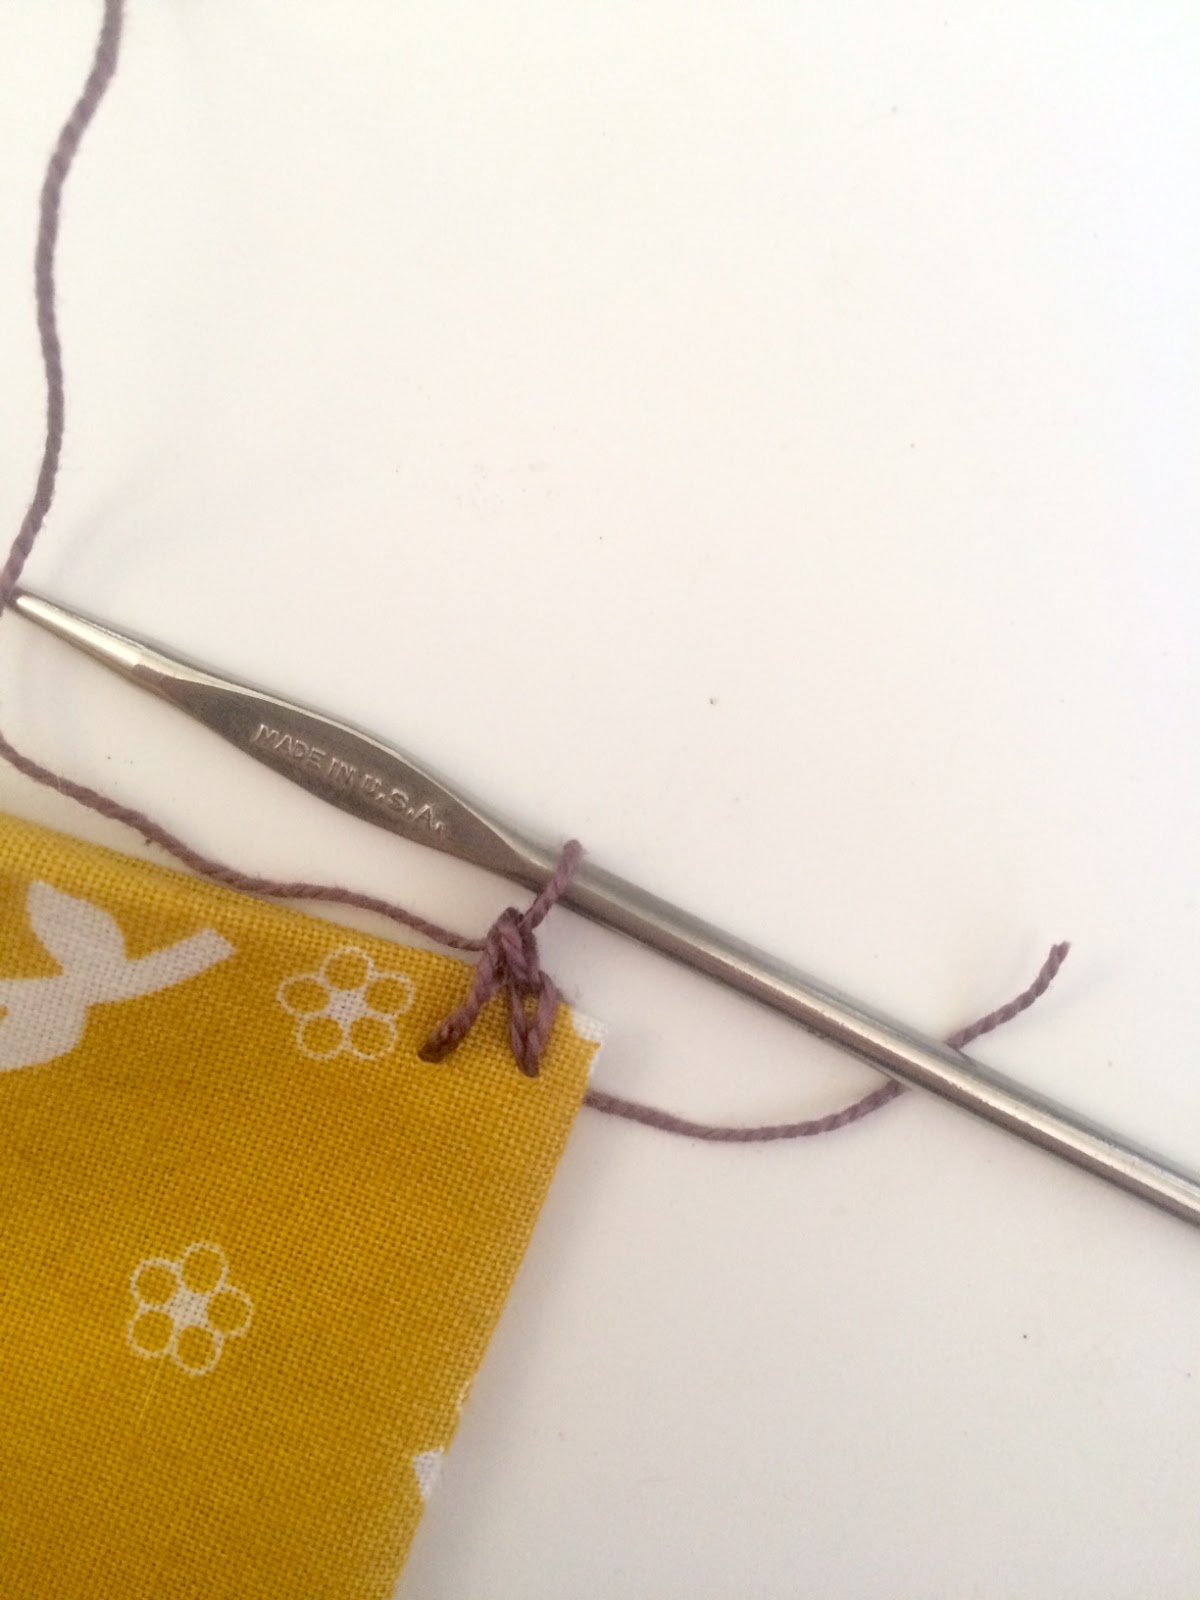
And you are done! If you would like a little hanger for the corner, grab your main color and a crochet hook and chain 10, and then secure onto a corner.
We hope you enjoy it! We will try and get a grid of the pattern out asap, too!

If you make this cutie, make sure to use #fibertonacres on social media so we can check it out! We would love to see your creations! And if this is all too much, you can just buy one at our Etsy shop here!
Thanks again!
Ash
PS - If you want a PDF version to download, head here and click on the tutorial!

Hey there fine friends! This is a little late...it is really last week's project. But better late than never, right?
So to get ready for Valentine's Day, what better than a little hand knit gift, perfect for your bestie or great as a hostess gift!

Cute, right? It is an awesome fast little project to whip up for you knitters out there. Then just a little more cutting and some quick hand stitching, and you are set!
Here is what you need to make this project:
- Scrap yarn in 2 contrasting colors - about 100 yards of main color (MC) and about 20 yards contrasting color (CC)
- Size 10US Straight Knitting Needles
- Scissors
- Wool felt approx 8x8
- Scrap of fabric approx 8.5x8.5in
- Matching thread
- Sewing Needle
- Crochet hook (optional for hanger)


How to make the cute lil' potholder:
Knitted side:
Abbreviations:
Kn: Knit
P: Purl
MC: Main Color
CC: Contrast Color
RS: Right Side
WS: Wrong Side
NOTES: You will be working in seed stitch throughout, except for the contrast color, which is done in stockinette. When you get to the heart color work, pay attention to the change in the pattern. And you can leave the yarn behind on the wrong side while changing colors, but make sure not to pull too tight, which will cinch up your fabric and it will not lay flat.
Here we go....
RS: Right Side
WS: Wrong Side
NOTES: You will be working in seed stitch throughout, except for the contrast color, which is done in stockinette. When you get to the heart color work, pay attention to the change in the pattern. And you can leave the yarn behind on the wrong side while changing colors, but make sure not to pull too tight, which will cinch up your fabric and it will not lay flat.
Here we go....
In MC, cast on 40 stitches in your preferred method.
Rows 1-6 :Seed stitch pattern - *kn1p1 - repeat from * across each row.
Row 7 (RS): Switch to CC and knit across.
Row 8: Continue in CC, Purl. Cut yarn and secure ends.
Row 9 (RS): In MC, knit.
Rows 10 -11: Seed stitch - *kn1p1 - repeat from * across each row.
Row 12 (WS): Kn1,p1 (seed stitch) 10 times (20 stitches). Keeping MC at back (WS), switch to CC, p1. Keep tail at WS, return to MC, P1. Continue kn1p1 to end.
Row 13 (RS): Kn1,p1 (seed stitch) 9 times (18 stitches). Keeping MC at back (WS), switch to CC, kn3. Keep tail at WS, return to MC, p1. Return to kn1p1 to end.
Row 14 (WS): Kn1,p1 (seed stitch) 9 times (18 stitches). Keeping MC at back (WS), switch to CC, p5. Keep tail at WS, return to MC, P1. Continue kn1p1 to end.
Row 15 (RS): Kn1,p1 (seed stitch) 8 times (16 stitches). Keeping MC at back (WS), switch to CC, kn7. Keep tail at WS, return to MC, P1. Continue kn1p1 to end.
Row 16 (WS): Kn1,p1 (seed stitch) 8 times (16 stitches). Keeping MC at back (WS), switch to CC, p9. Keep tail at WS, return to MC, P1. Continue kn1p1 to end.
Row 17 (RS): Kn1,p1 (seed stitch) 7 times (14 stitches). Keeping MC at back (WS), switch to CC, kn11. Keep tail at WS, return to MC, P1. Continue kn1p1 to end.
Row 18 (WS): Kn1,p1 (seed stitch) 7 times (14 stitches). Keeping MC at back (WS), switch to CC, p13. Keep tail at WS, return to MC, P1. Continue kn1p1 to end.
Row 13 (RS): Kn1,p1 (seed stitch) 9 times (18 stitches). Keeping MC at back (WS), switch to CC, kn3. Keep tail at WS, return to MC, p1. Return to kn1p1 to end.
Row 14 (WS): Kn1,p1 (seed stitch) 9 times (18 stitches). Keeping MC at back (WS), switch to CC, p5. Keep tail at WS, return to MC, P1. Continue kn1p1 to end.
Row 15 (RS): Kn1,p1 (seed stitch) 8 times (16 stitches). Keeping MC at back (WS), switch to CC, kn7. Keep tail at WS, return to MC, P1. Continue kn1p1 to end.
Row 16 (WS): Kn1,p1 (seed stitch) 8 times (16 stitches). Keeping MC at back (WS), switch to CC, p9. Keep tail at WS, return to MC, P1. Continue kn1p1 to end.
Row 17 (RS): Kn1,p1 (seed stitch) 7 times (14 stitches). Keeping MC at back (WS), switch to CC, kn11. Keep tail at WS, return to MC, P1. Continue kn1p1 to end.
Row 18 (WS): Kn1,p1 (seed stitch) 7 times (14 stitches). Keeping MC at back (WS), switch to CC, p13. Keep tail at WS, return to MC, P1. Continue kn1p1 to end.
Row 20 (WS - NOTE: No increases in CC): Kn1,p1 (seed stitch) 6 times (12 stitches). Kn1. Keeping MC at back (WS), switch to CC, p13. Keep tail at WS, return to MC. Continue kn1p1 to end.
Row 21 (RS): Kn1,p1 (seed stitch) 6 times (12 stitches). Keeping MC at back (WS), switch to CC, kn15. Keep tail at WS, return to MC, P1. Continue kn1p1 to end.
Row 22 (WS): Kn1,p1 (seed stitch) 6 times (12 stitches). Kn1. Keeping MC at back (WS), switch to CC, p15. Keep tail at WS, return to MC. Continue kn1p1 to end.
Row 23 (RS): Kn1,p1 (seed stitch) 6 times (12 stitches). Keeping MC at back (WS), switch to CC, kn15. Keep tail at WS, return to MC, P1. Continue kn1p1 to end.
Row 24 (WS): Kn1,p1 (seed stitch) 6 times (12 stitches). Kn1. Keeping MC at back (WS), switch to CC, p15. Keep tail at WS, return to MC. Continue kn1p1 to end.
Row 25 (RS - NOTE - Decreasing of CC begins): Kn1,p1 (seed stitch) 6 times (12 stitches). Kn1. Keeping MC at back (WS), switch to CC, kn6. Keep tail at WS, return to MC and p1. With CC, kn6. With MC, continue kn1p1 to end.
Row 26 (WS): Kn1,p1 (seed stitch) 7 times (14 stitches). Keeping MC at back (WS), switch to CC, p5. Keep tail at WS, return to MC and p1,kn1p1. With CC, p5. With MC, P1. Continue kn1p1 to end.
Row 27 (RS): Kn1,p1 (seed stitch) 7 times (14 stitches). Keeping MC at back (WS), switch to CC, kn3. Keep tail at WS, return to MC and p1,kn1,p1,kn1,p1(total of 5 stitches in MC). Then, with CC, kn3. Back to MC, P1. Continue kn1p1 to end.
Row 28 (WS): Kn1,p1 (seed stitch) 8 times (16 stitches). Keeping MC at back (WS), switch to CC, p1. Keep tail at WS, return to MC and p1. Kn1p1 pattern 3times (total of 7 stitches in MC). With CC, p1. With MC, P1. Continue kn1p1 to end. Clip CC and secure ends.
Rows 29-32: Kn1,p1 across.
Row 33: With CC, kn across.
Row 34: With CC, purl across.
Rows 36-39: Kn1,p1 across.
Row 40: In kn1,p1 pattern, bind off.


Now you are done knitting! Whew! Now to finish....
Take your finished square and lay it on your felt. Cut out felt to match size of knitted fabric.

Now take your fabric, and cut about half an inch larger than the wool and knitted fabric size.
Take your handy iron, and press under about 1/2in of the fabric on each side.
Sandwich your felt in between your knitted fabric and regular fabric (making sure right sides are facing out.) Hand stitch the sandwich closed with a whip or invisible stitch.

And you are done! If you would like a little hanger for the corner, grab your main color and a crochet hook and chain 10, and then secure onto a corner.
We hope you enjoy it! We will try and get a grid of the pattern out asap, too!

If you make this cutie, make sure to use #fibertonacres on social media so we can check it out! We would love to see your creations! And if this is all too much, you can just buy one at our Etsy shop here!
Thanks again!
Ash
PS - If you want a PDF version to download, head here and click on the tutorial!