Showing posts with label yarn crafting. Show all posts

Wednesday, January 18, 2017

Hearts Handwarmer Knitting Pattern

Hey Folks!  We are super stoked about two things.  First, we are finally back to offering some new yarn crafting patterns with today's "Hearts Hand Warmers"!  And secondly, this also marks our first in crafting kits we will be offering in our Etsy Shop!


For being our loyal follower, we would love to offer you the pattern for free here.  (Speaking of, don't miss future patterns and updates by signing up here for our little newsletter!)


For our new kits, we will be offering quality and eco-friendly materials with our patterns in fun, reusable packaging whenever possible. In this kit, the first of its kind, we will give you just the right amount of our hand spun wool which we dyed (using non-toxic food grade dyes) in fun bright colors, as well as the warming pouches made from organic cotton fabric and filled with organic flax seed.  This is a fast and easy gift for your beau on Valentine's Day or a special little gift for yourself!


You can find one of our kits here!  We have several different color combos, so make sure to peek around!

This is just the start of our kits, so if you are not a knitter, don't worry, we will have some other yarncrafting kits for you all soon!

Ash

Saturday, January 16, 2016

DIY Pom Pom Flower Bouquet - Granny Chic a Week

Disclosure: Some of the links in this post are affiliate links, which means that if you go through them to make a purchase I can earn a commission.  But I only link to products that I recommend based on my experience with them, not because of the commission. :)

Hey there!  Ok, ok...I am totally cutting it close for this week's Granny Chic a Week project.  But this one is a quick and easy one that will add a pop of color and never die!


This has been on my to-do list for YEARS! And now that it is done, I am loving it!

Here is what you need:


Pom poms.  These are ones that I made using the technique I talked about last week.  Check that out here.  This is an AWESOME way to use up those small balls of yarn from other projects!


You will also need some floral stem wire and floral tape.  You can find them at the links provided or at pretty much any craft supply store.

How to make your bouquet:

Once you have the pom poms made, this is super easy!

First, take some floral wire and carefully push it up through your pom pom.  Do this slow and support the pom pom so all your yarn doesn't come apart.

The cat has to sneak into every one of these tutorials....
Next, make an upside down 'V' with the wire.  We will carefully snake this back through the pom pom.


Carefully press the wire back through the pom pom, like below.  Pull slowly until it is just hidden in the fluff of the pom pom.  If you pull too hard, the strings will just pull out and ruin the pom pom.


Now you should have something that looks like this.  


Carefully peel off some floral tape and we will start wrapping...


Kind of pull up the yarn at the bottom to finish wrapping the wire.


Now you should have one completely flower!


Easy, right?  Now just repeat until you have your desired number of flowers for your bouquet, grab a cute vase, and display!  


Check back again next week for our next granny chic project! 

Ash

PS - If there is something you have seen but can't find a tutorial on, maybe I can help!  Let me know what granny chic project we should work on.  Or just share your project!


Friday, November 20, 2015

Cottage Chic Crochet Stocking Tutorial

Disclosure: Some of the links in this post are affiliate links, which means that if you go through them to make a purchase I can earn a commission.  But I only link to products that I recommend based on my experience with them, not because of the commission. :)

It is rounding the bend quickly (too quickly!) to the holidays, and I have been in full maker mode!  I recently made a crochet stocking that was inspired by vintage everything - colors, style, feel - basically anything that invoked a feeling of nostalgia for my Etsy shop. (As you may remember from a previous post.) And I thought, "Hey Ashley, you should share this pattern with the world!"


So this is just that!  Here is the tutorial here, but down at the bottom you can find the downloadable and printable pdf for your crocheting ease.

Fiberton Acres' Cottage Chic Stocking Pattern

Tools/Materials:

Size I Crochet Hook
1 Skein (~200 yards) worsted weight yarn (on the thicker worsted weight side) in color of your choice
Alternative for yarn: Use up your stash or small balls for striping or if you have thinner yarn, use two strands of yarn or a fun multipack of yarn like this...

Abbreviations:

Ch: Chain
Sl: Slip Stitch
Sc: Single Crochet
Hdc:  Half double crochet
Dc: Double Crochet
Dc2tog: Double crochet 2 together for decrease
Cbl: Cable Stitch

The Pattern:

Note: This pattern is crocheted in the round until we reach the heel, then after the heel, you will resume crocheting in the round.

Step 1: Chain 3 and then slip stitch into first ch to create a loop.


Round 1: Ch 2 (this will act as first dc), dc 14 into loop, resulting in 15 dc. Sl st to join.


Round 2: Ch 2, dc into same stitch, then 2 dc into each around, sl st to join. 30 dc total.

Round 3: Ch 2, dc into same stitch, dc next stitch, *2 dc next stitch, 1dc into next 2 stitches*, continue from *  to last stitch, sl st to join. 41 stitches

Round 4: Ch 2, dc into same, dc to end, sl st to join. 42 stitches

Round 5: Same as Round 4.  43 stitches


At this point will have a little 'hat'.  This is the toe of the stocking. 


Round 6: Begin the crochet cable stitch.  Ch 2, 1 dc in next 2 so you have a total of 3 stitches like this:


Then wrap yarn as to dc, but reach back across all 3 stitches and insert hook into the last dc of the prior row and dc as normal.


Basically this will create  a cable look back across the last 3 stitches.  To continue, skip the next stitch, and dc in the next 3 stitches, as seen below.


Once again, wrap your yarn as if to dc, reach back to skipped stitch and finish dc.


Continue in this fashion to end of row, sl st to join.

Round 7: Dc across and sl st to join.

Rounds 8-10: Repeat rows 6 and 7. 

Heel: The heel is worked back and forth.  

Heel Row 1: Ch 2, Dc 19 stitches - 20 stitches total

Heel Row 2: Ch 2, dc 7 stitches, dc2tog twice, dc 8 - 18 stitches total

Heel Row 3: Ch2, dc 6, dc2tog twice, dc 7 - 16 stitches total

Heel Row 4: Ch 2, dc 5, dc2tog twice, dc 6 - 14 stitches total

Heel Row 5: Ch 2, dc 4, dc2tog twice, dc 5 - 12 stitches total


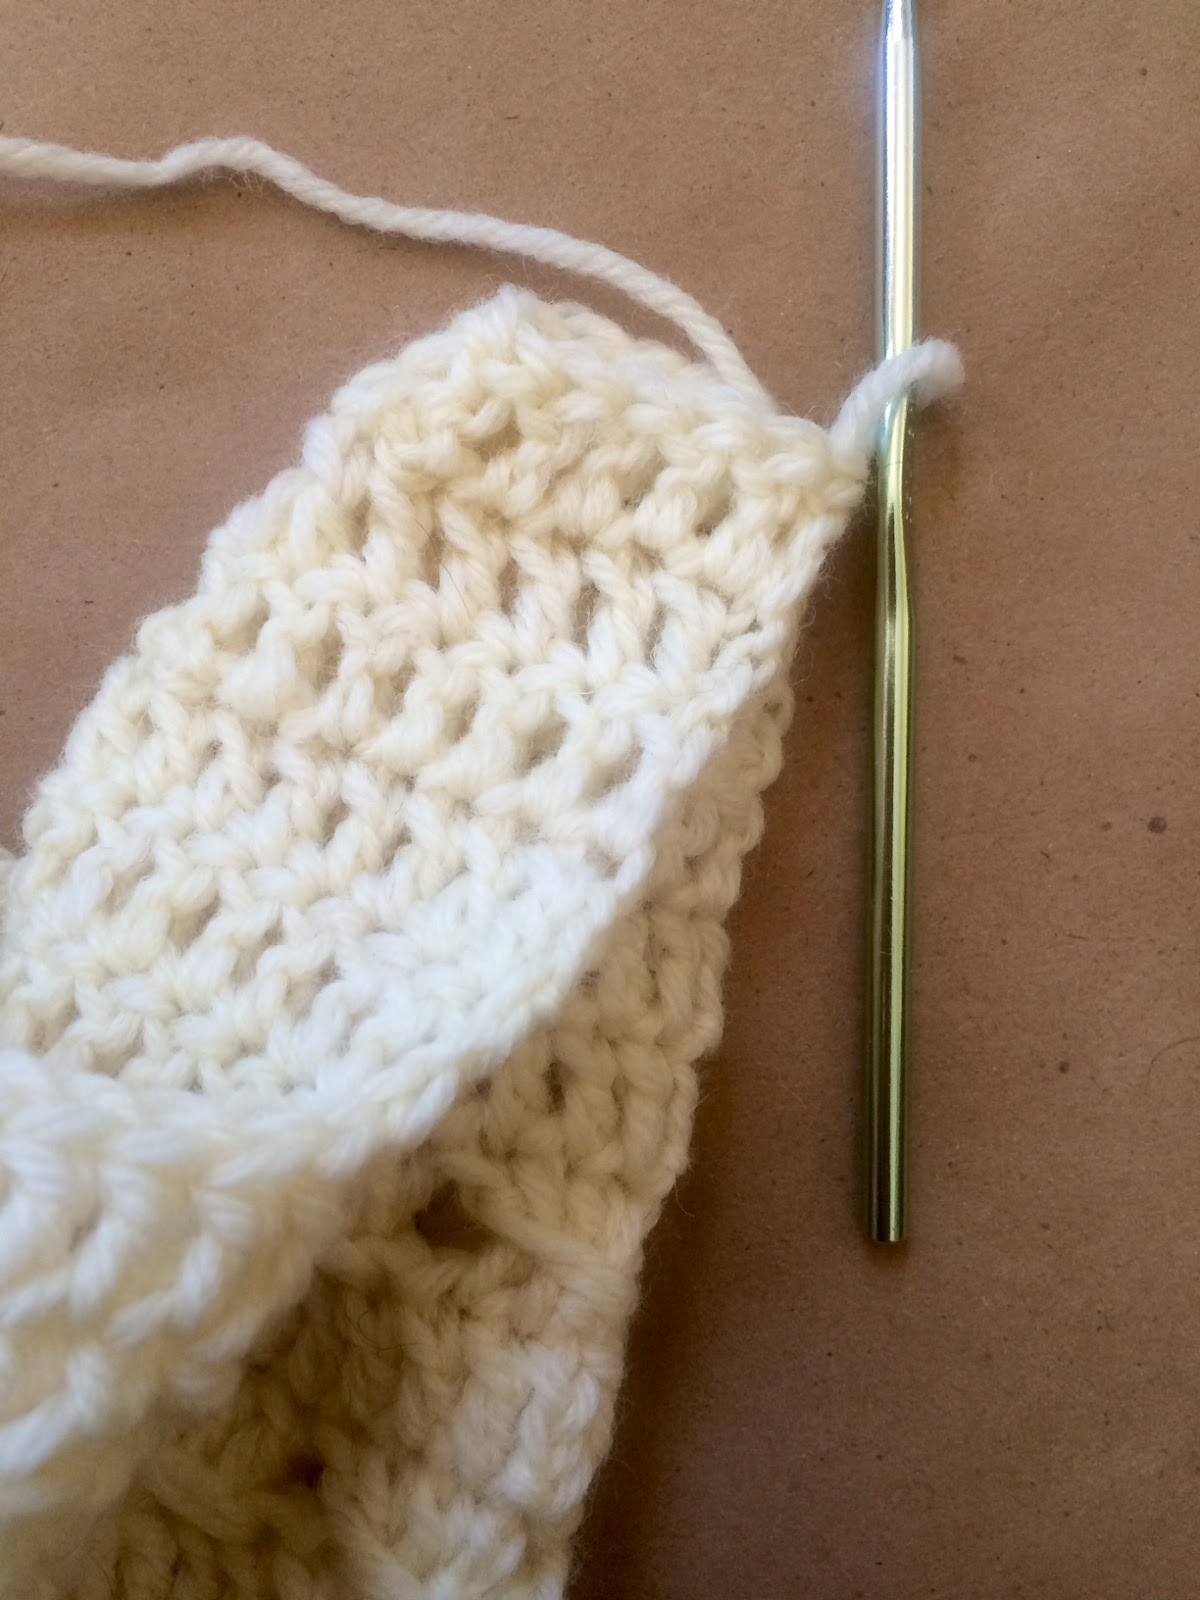
Your heel will look like this (above.)

Closing the heel: 

Turn wrong side out and fold in half as pictured below.


Then slip stitch closed and cut yarn.  I like to use a little Fray Check to make sure end won't come undone.


You should end up with a heel that looks like this:


Picking up stitches to continue in the round - a.k.a - Round 11:

Now we will pick up stitches around the heel and foot to make the ankle part of the stocking.  Starting at the seem of the heel, pick up and sc 8 stitches to corner.


At the corner, skip a stitch and continue to sc across.  Do the same when you reach the next corner, skipping a stitch, and then pick up and sc 8 and sl st to join.  


You should get back to your original 43 stitches. (Hey - don't panic if the numbers are not quite right! Just rip back a little and add a stitch or sc2tog to subtract a stitch to make up for it. But 43 is the magic number to get back to.)

Now we will resume the pattern! Yay!


 Rounds 12-25: Repeat rows 6 and 7


Round 26: Ch 2, dc around

Round 27: Ch 2, turn, dc around and sl st to join. (Here you will be dc-ing around in the opposite direction, which will create a nice fold for the cuff.)

Round 28 - Scalloped Edging: Ch 2, dc 6into same stitch, skip 3, *7dc into next stitch, skip 3*, repeat from * around to end, sl st to join.  


Finishing: Cut yarn and weave in ends and now only one thing left to do!  Make your loop to hang the bad boy from!


For the loop: Chain 20, turn and skip 2 ch, hdc across. Cut yarn and then sew in your desired location for the stocking to hang how you'd like.  

And tada!  A lovely cottage chic, vintage inspired stocking of your own!  Make the whole family one, or use it as a very special way to wrap your packages.  


Or, if this all sounds like a little more than you want to bite off, you can buy one at our Etsy shop here!

We hope you love this pattern as much as we loved making it!  And make sure to share your finished creations on Ravelry, or your favorite social media (use hashtag #fibertonstocking)

Ash


Thursday, November 5, 2015

How is it already November? (AKA - Time to start the holiday crafts!)

Ok, ok, I know November has just begun, but in the crafting world it is totally time to get ready for the holidays!  And I have to admit, I am kind of having fun.

Little Leia also likes the colors I chose for the Autumn Bunting Banners...
I have started on new bunting banners for the holidays, including this one with Thanksgiving or Autumn colors.  Perfect for decorating your front door or your dining room for the holiday festivities.


I have also begun working on stockings.  I love the chunky, big, sort-of-pottery-barn stockings.  So I created my own pattern (which I will release soon) for a fun crochet stocking.


I am pretty happy with how it turned out!  I will be offering folks the option to choose whatever color they like that will match their home.

I have a few other holiday items on the hooks and needles I will show off soon!

Are you getting ready for the holidays at all yet?  Or are you like the hubby and think I am way too early?

Ash

Thursday, September 10, 2015

Prepping for our first 3 day show!


Whew!  I know I have been awful at posting, but we have been hard at work preparing for our first 3 day show!  We are heading to the Creston Rodeo for 3 days of good food, selling our goods, festivities, and LOTS of sun.  We are in a heat wave (it was still 80 degrees at 10pm last night....I think about 104 at the hottest part of the day yesterday....) and I have been wracking my brain on how to deal with the dust and heat at our booth.

First, we bought some awesome bright green astroturf to put down to cut down on the dust right in our booth and to be adorable.  Next I set to work making a give-a-away to those that come check out the booth that will be much needed....paper fans!


In the making...


Ta da!  I had fun designing it!

Of course, in addition to making things to make the booth look nice and help everyone not die of heat stroke, we have been hard at work making some more product.  I am a bit nervous I still don't have quite enough, and will be working like a maniac today to finish, but I am pleased with the results.

Still working on this pillowcase...

How perfect is this fabric?!  I just love it with the edging.
I hope someone takes these pillowcases home to love!

And a few more towels to add to the mix.

So if you are in the Central Coast area of California, come stop by this weekend! (Here is our etsy local link for a little more info!)  Just head on down to the tiny and adorable town of Creston and you can't miss it!

More soon!

Ash

Wednesday, August 26, 2015

Cute and Crocheted

I have been working on the cute and crocheted aspect of the biz lately.  There are oh so many things that fit this category...way too many.  Actually, I just asked my mom if this weekend we can look through some ideas and get her help on where I should focus my time.  I want to make them all!!

For example, I love bunting.  So one of my very first projects was crocheted bunting.  I think they would make the cutest decorations for an outdoor wedding or kids room or a boho/colorful room!

In the works...

So cute!  And they can be made in any color!

I also think part of what our business is about is a sense of nostalgia and a need to bring back well constructed hand made goods that are nice to look at.  I love the freedom I have with our hand sewn pillowcases and that we can add that touch of fun and elegance with the crocheted lace trim.  It has been so much fun to hear people at the shows I have been at tell me that their grandmother had pillowcases with the crocheted trim.  You see this flash in their eyes of a happy memory.  Nothing is better than that.

Working with a bigger hook here...but also do a lot with a tiny hook.
I also love the search for fun and funky fabrics.  I either use organic fabrics (usually from fabricworm.com or spoonflower.com) or we have fun with the hunt for fabric that needs a new home from thrift stores or antique stores.  

Even goats love them!

This is one of my favs...

While our little crocheted pillows are not our biggest seller (yet...hehe), I am in love with them.  The granny squares and crocheted roses are all about nostalgia for me.  They are the perfect shabby chic addition and so much fun to make!  What do you think?

I think they would be even cuter on a pretty cream comforter or couch....


I have many other things in the works....and of course you can find many of these things over at our etsy shop here.  I plan on sharing some tutorials on a few of the things in the works soon, too!  Let us know if there is something you are chomping at the bit to learn!

Ash