
Disclosure: Some of the links in this post are affiliate links, which means that if you go through them to make a purchase I can earn a commission. But I only link to products that I recommend based on my experience with them, not because of the commission. :)
Woo hoo! We are super excited to kick off our new year's blog posts with our first installation of Granny Chic a Week!

Grab that yarn and start making pom poms! Here is what you will need:
Supplies:
- Scissors
- A piece of cardboard or scrap mail or a pom pom maker
- Lots of yarn (I used up lots of stash balls, but my guestimate would be around 1500 yards)
 |
| Scissors, some scrap cardstock mail or cardboard, and yarn |
- Felt to finish the back completely a little larger than your final rug
- Non-skid/rubbery mat (see below)
 |
| Non-skid backing/mat - you can also find this in the kitchen section to put in drawers |
- Hot glue gun and glue sticks
The How To:
Collect your supplies....And start whipping up some pom poms! I decided to make my rug 16in wide by 26in long, so I had to make 126 - 2in pom poms. You can make these your preferred method if you have one, or this is how I make them:
Grab your cardboard (or in my case, scrap mail) and cut or fold into desired size. Mine is 2in.
2Start wrapping the yarn around the cardboard like this:
2Start wrapping the yarn around the cardboard like this:

Continue to wrap the yarn for a bit. You want it to be a thick, full pom pom, so wrap until it looks something like this:


Next you will tightly tie the long piece around the center of the wrapped yarn. Double knot.
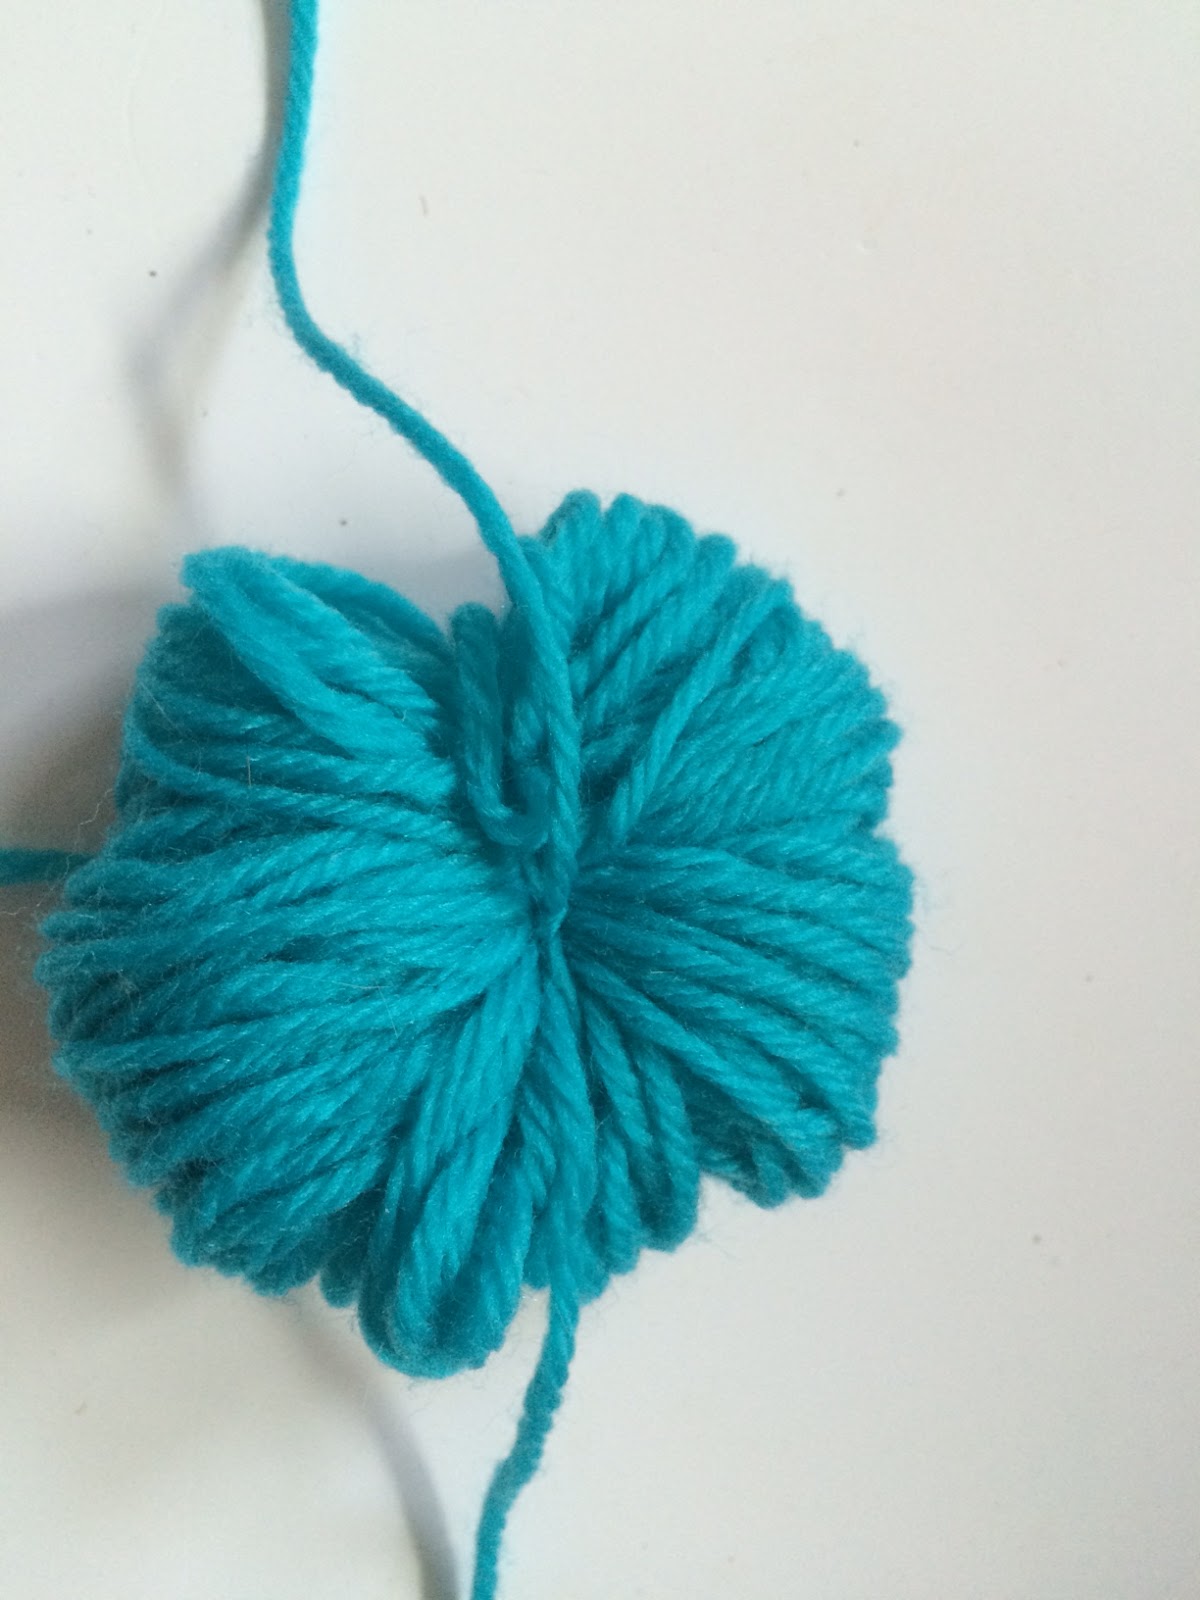

You will now have something that looks like this:


And tada! Your pom pom!
 |
 |

Once you have them all tied on how you like, trim the long pieces down on the back...

And then cut a piece of felt or backing to the size of your rug.

Plug in the glue gun and start gluing! I left a little extra along the edges so I could wrap the felt up and around the rough edges of the latch hook backing.


Just one last step! Grab your non-skid backing (mostly just needed if you have hard wood floors) and add a bit to the back.

And voila! Your fun rug is all done! So squishy on the feet and so cute to look at!


It would be great for a kids room, or you could go crazy and make a large circle for your living room. The possibilities are endless!
We hope you have fun and enjoy this Granny Chic project!
Ash
PS - Here are outtakes with kitties who were really very curious about my photography....


No comments:
Post a Comment